Time to spring clean the kitchen
As we officially head into Spring and with a little more time on our hands than usual, what better opportunity is there than to give your kitchen and utility room (if you have one) a decent spring clean. As the hub of most homes, kitchens are often the hardest to keep clean and tidy and, by default, are left to last when it comes to a deep clean.
The scariest part of conquering the kitchen spring clean is knowing where to begin – there are just so many areas that need attention that it can often feel overwhelming.
Firstly, make sure you have the main cleaning materials to hand.
Microfibre cloths are the best to use. Always have two to hand, one for the actual deep cleaning, one for the wiping down afterwards.
All-purpose cleaning solution works well in a kitchen. The best mixture being 1:1 water and vinegar but particularly dirty areas, such as around the base of kitchen units, use straight vinegar. Add essential oils or fresh lemon juice for a nice fresh scent but do not us on granite or marble surfaces due to their acidic properties.
A window polishing cloth and water is perfect for achieving a sparkling, streak-free finish on windows, mirror surfaces, and metal fixtures.
A toothbrush is ideal for getting into all the tight crevices as well as tackling any grout if you have tiles.
Baking soda has the power to freshen and clean a variety of spots and marks throughout the home – the kitchen being no exception. It is a super-effective, but gentle, abrasive and is also a natural deodorizer.
With materials at the ready, it is time to get started.
Firstly, the pre-clean. Clear away the clutter that doesn’t belong in the kitchen, put away any dishes or cutlery, then place permanent items such as storage jars, toaster, kettle elsewhere whilst cleaning and wipe down the surfaces.
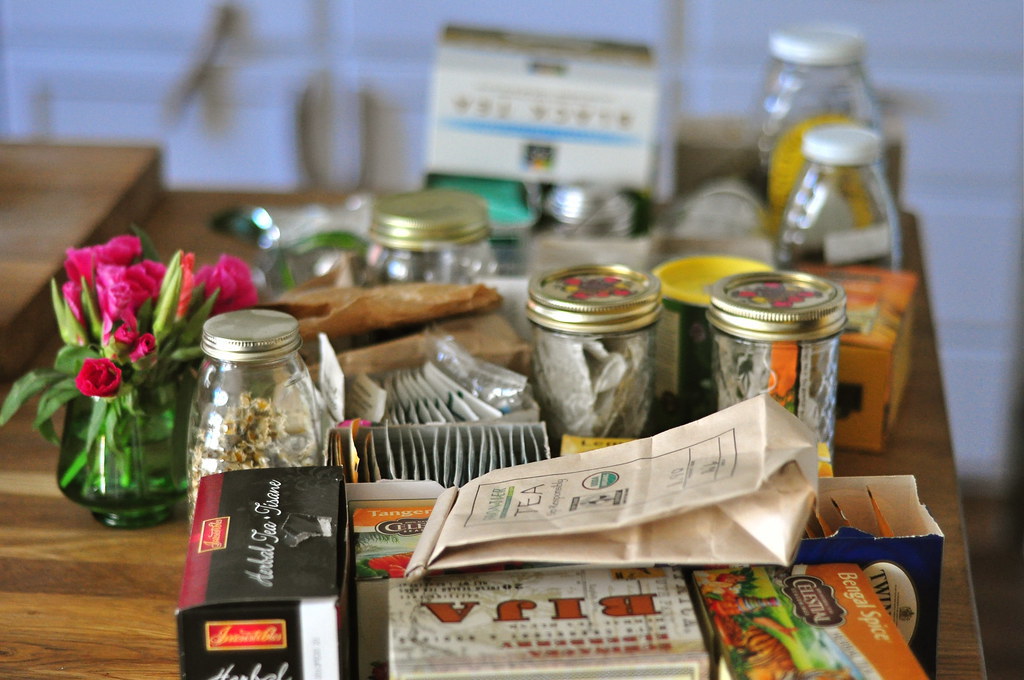
Next, sort through food cupboards. Place jars, tins and cans on work surface throwing away any items that have expired, are stale or empty and then wipe down all shelves with soapy water or your all-purpose cleaning solution. Put food back, arranging like items together with oldest dated products at front.
Do the same again, this time the baking and cooking cupboards making sure you have plenty of airtight containers for storing flour, sugar, rice etc then clean and organise your fridge and freezer, checking all food dates, wipe down shelves and compartments, drawers and filters and finally the exteriors.
Time to tackle drawers. Take everything out, wipe down the interiors with the all-purpose cleaning solution, throw away broken or unwanted items or anything you haven’t used in over a year. Consider investing in drawer organisers to help keep items in allocated places.
Cleaning other appliances is next on the to-do list – clean both the inside and outside of the microwave, dishwasher and oven using bicarbonate of soda or specific appliance cleaning products. Don’t forget to descale your kettle.
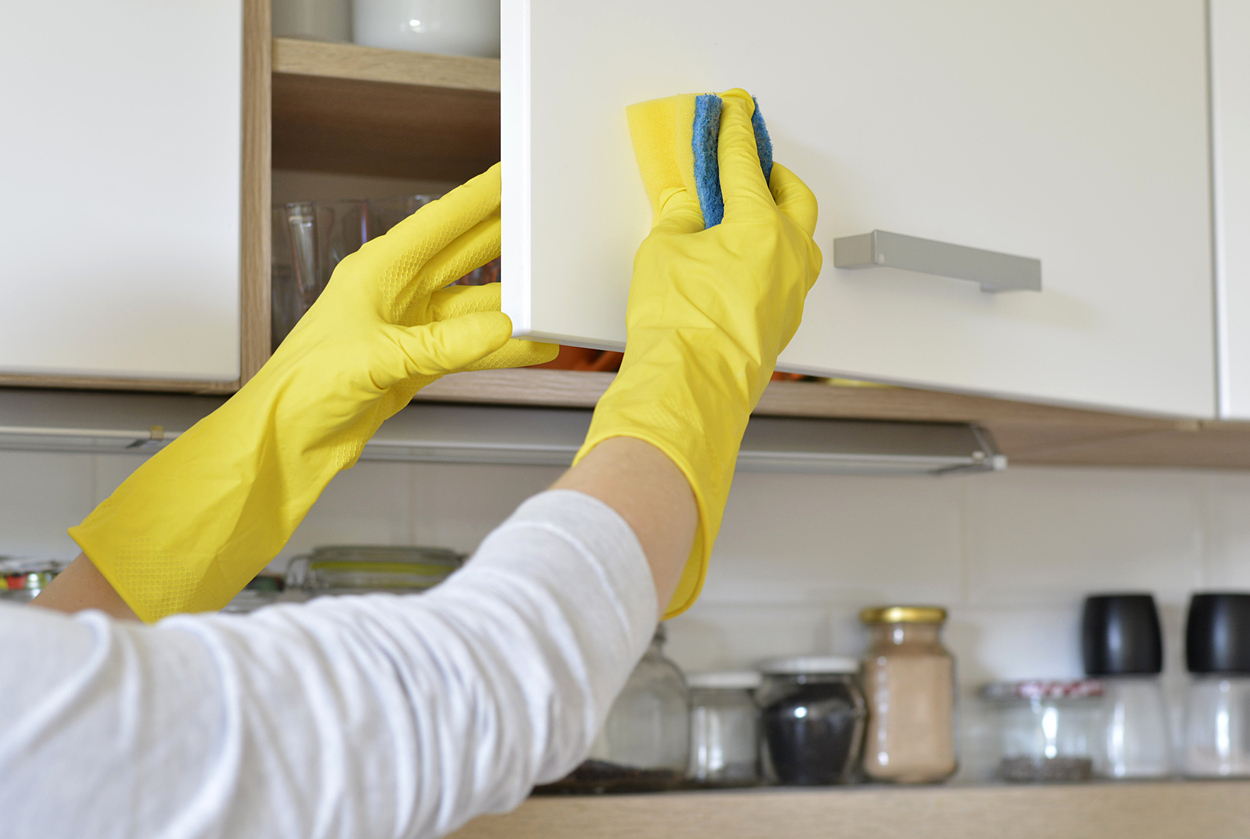
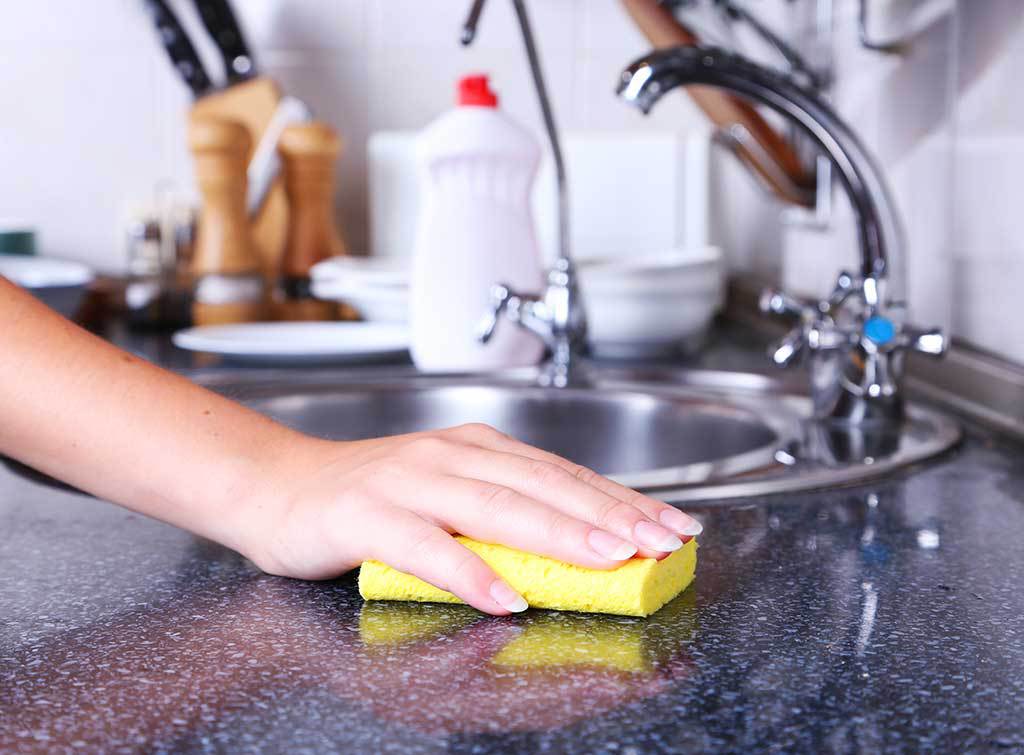
Nearly there! Cleaning down the surfaces is next. Use a clean damp cloth together with solution to wipe down the exterior of all cabinets (or polish if you have wooden cabinets), a stronger cleaning product for the sink, using a limescale remover for taps. Spray worktops, upstands, and tiles with antibacterial cleaner, then wipe and dry well.
Finally, time to clean the floors. Sweep the entire floor to begin with, then remove any sticky or dirty areas or stains before mopping the floor with a heavy-duty floor cleaner, and washing any door mats or rugs.
Breaking it down into bite sized chunks makes it seem less overwhelming and more doable. Don’t forget it doesn’t have to be completed all in the one afternoon – but one thing is for sure, you’ll love your sparkling, clean kitchen when it’s all finished.
22nd Feb 2021The Compare Network
Copyright – Insight Retail Group Ltd 2025 All rights reserved